
You simply insert your wire into the MARSHINE Automatic 10-24 AWG Wire Stripper Gun's appropriate jaws. Then, firmly squeeze the handles. This action engages the stripping mechanism. Release the handles, and the tool cleanly removes the insulation. This tool quickly and efficiently strips wires across various gauges.
Before you dive into your wiring projects, let's get familiar with your new tool. Understanding its parts and why automatic stripping is a game-changer will make your work much smoother.
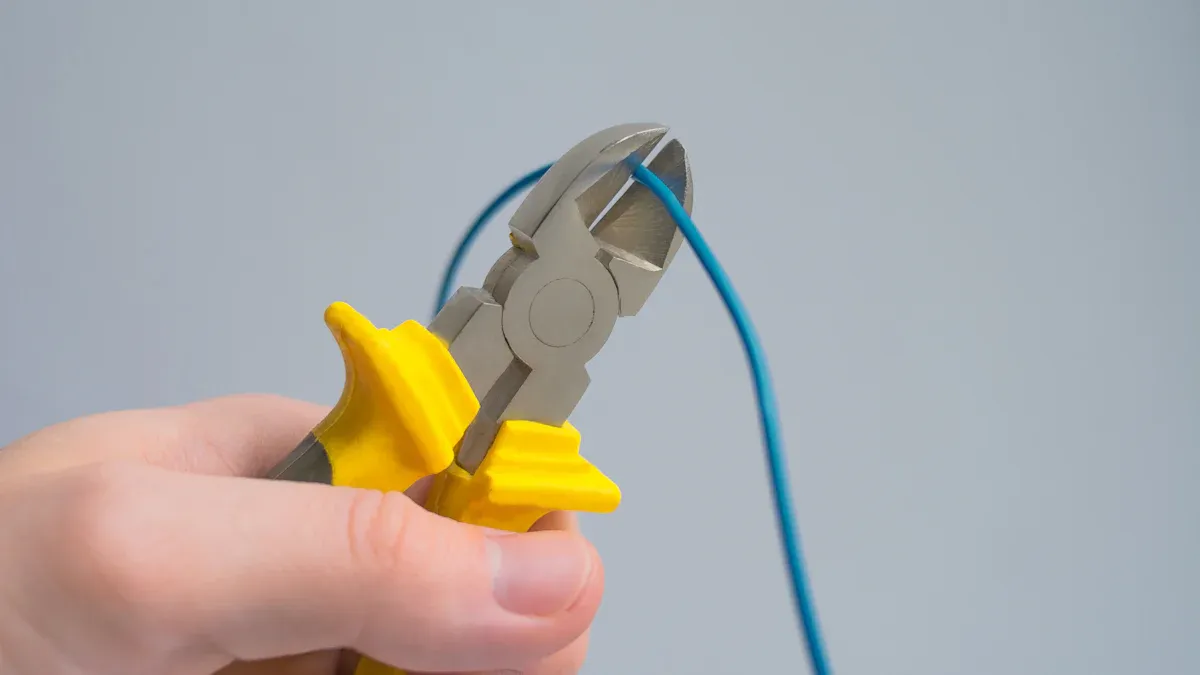
Your MARSHINE Automatic 10-24 AWG Wire Stripper Gun has a few main parts. You will notice the stripping jaws at the front. These jaws grab and cut the insulation. The handles are what you squeeze to operate the tool. They are designed for a comfortable grip. You might also see a length stop, which helps you strip the same amount of insulation every time. Getting to know these parts helps you use the tool effectively.
Using an automatic wire stripper like this one offers many advantages over manual methods. First, you get incredible efficiency and speed. This tool completes tasks in seconds that would take minutes by hand. This boosts your productivity significantly.
Automatic strippers also provide precision and accuracy. They give you consistent, clean cuts. This minimizes damage to the wire core. Manual tools rely on your skill, which can lead to inconsistent results. With an automatic tool, you reduce human error. This means more reliable and uniform output for your projects.
You will also notice a big difference in user comfort. This tool reduces fatigue. Its ergonomic handle is designed for comfort, even during long work sessions. The self-adjusting nature means you use less effort. The tool automatically adapts to different wire gauges. You just squeeze the handles, and it does the work. This makes operation simpler and faster, saving you time and effort, especially for frequent stripping tasks.
Now that you understand the benefits of your automatic stripper, let's walk through how to use it effectively. You will find that preparing wires and stripping them becomes a quick and easy process.
Good preparation makes all the difference. Before you even touch the MARSHINE Automatic 10-24 AWG Wire Stripper Gun, you should prepare your wire. If you are working with multi-core wire, strip a length longer than you actually need. This gives you some extra room to work. Stop stripping before the insulation completely detaches from the end of the cores. You can then use that remaining piece of insulation as a handle. This helps you twist the cores together neatly. Also, remember to sort your stripped wire by grade into separate bins or bags. This keeps everything organized. Always remove any contaminants like brass ends, steel connectors, or traces of insulation. Keep your wire dry and organized to prevent corrosion. This also ensures better pricing if you are recycling it.
One of the best features of an automatic stripper is its self-adjusting nature. However, some models offer fine-tuning. You might need to adjust the blade height. This is super important. It ensures the blade cuts only the insulation. It will not damage the conductor. Adjust it until the insulation splits cleanly. The conductor should remain smooth. The wire should feed without snagging. Many machines have adjustment knobs or depth indicators for this. Some models also let you adjust the feed slot. You can widen or narrow the feed channel. This accommodates different wire diameters. Other machines provide multiple feed holes for various wire types. The wire should fit snugly but still glide through easily. Always check the wire diameter range your specific MARSHINE Automatic 10-24 AWG Wire Stripper Gun handles. Different machines are designed for specific wire sizes. You also need to consider the type of insulation. Machines vary in their ability to handle soft (like PVC) or hard (like armored) insulation.
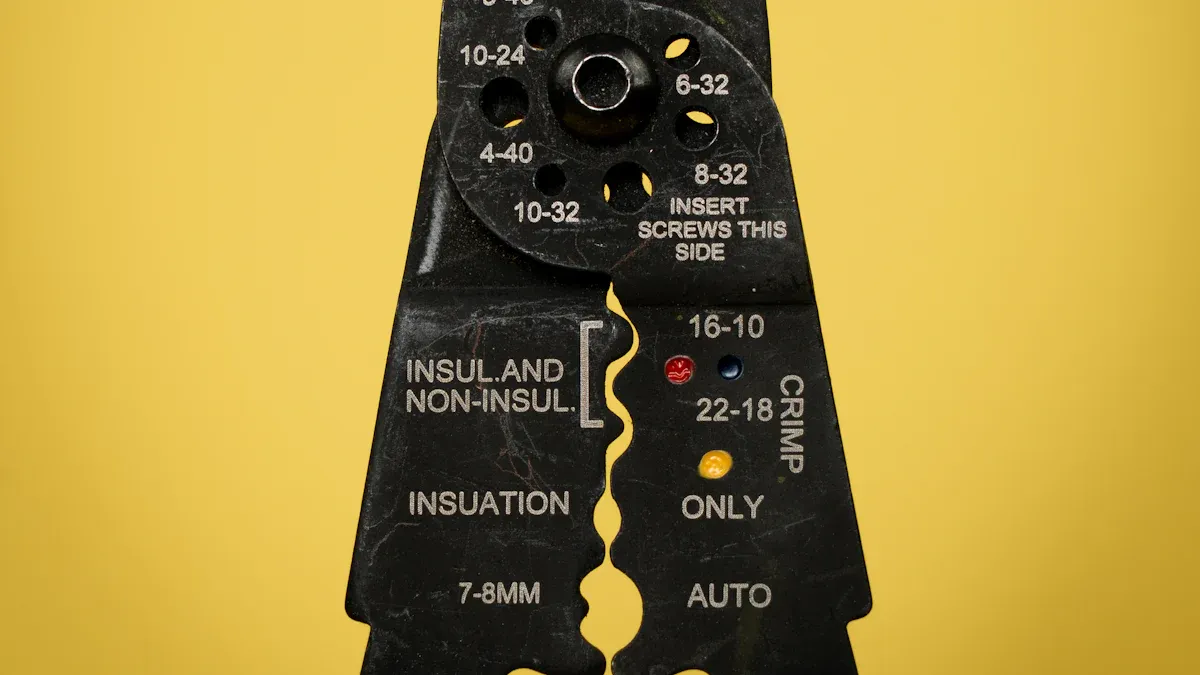
Proper wire positioning is key for a clean strip. For standard wires (0.06–0.5 inches or 1.5–13 mm), feed the wire through the pre-cut hole that matches its size. You should loosen both locking bolts. Then, adjust the safety guard up or down. Do this until the wire rests perfectly on the roller joint. After that, tighten the bolts firmly. If you notice alignment issues, move the bolts to the lower holes for better positioning.
For larger wires (0.5–0.98 inches or 13–25 mm), you will need to replace the standard guard with the 25mm guard. Insert the wire. Adjust the guard's height until the wire rests correctly on the roller. Then, tighten the bolts completely.
Sometimes you might have tricky or curled wires. For these, remove both bolts. Stack the outer plate over the inner one. Align them with the bolt holes. Insert the bolts loosely. Feed the wire. Slide the outer plate to the correct opening size. Then, tighten everything firmly. This method is great for frequent size changes, curled wires, non-standard sizes, or quick adjustments. Always measure your wire diameter, including insulation, before you select a feed hole. This prevents wire shifting and inconsistent stripping results.
Here is a quick guide for feed hole sizes:
| Wire Diameter (in.) | Correct Feed Hole Size (in.) |
|---|---|
| 0.06−0.2 | 0.2 |
| 0.2−0.35 | 0.35 |
| 0.35−0.5 | 0.5 |
| 0.5−0.98 | Special 25 mm guard required |
Remember to loosen both locking bolts. Move the guard until your wire sits centered right on the roller joint. Take an extra moment to check that everything is lined up properly. Then, tighten those bolts completely. Never run your machine without the guard properly locked down.
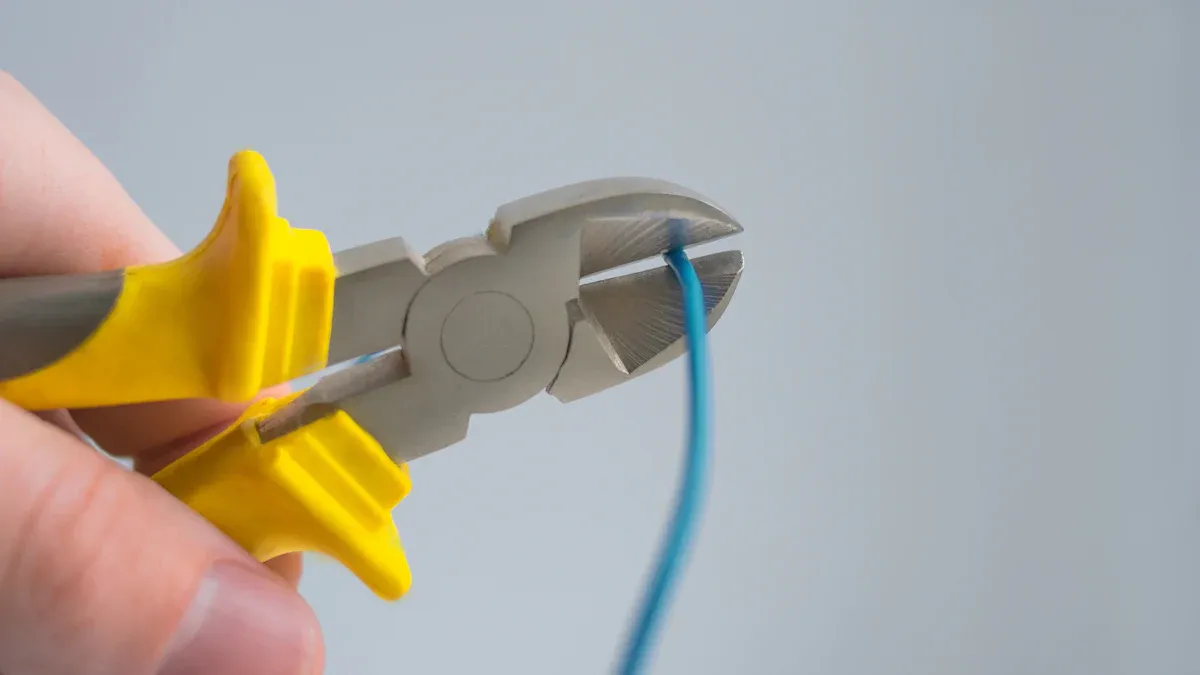
Once your wire is prepared and positioned correctly, the stripping process is incredibly simple. You just need to insert the wire into the appropriate stripping jaws. Then, firmly squeeze the handles. The tool's internal mechanism automatically adjusts to the wire gauge. It cuts through the insulation without touching the conductor. You will feel a slight resistance as it cuts. Then, release the handles. The insulation piece will come right off, leaving a perfectly stripped wire end. This automatic action saves you time and effort. It also ensures a consistent strip every single time.
After stripping, always take a moment to inspect your work. You want to see a clean cut on the insulation. The copper conductor underneath should be shiny and undamaged. Look for any nicks, scratches, or stray strands. If you see any damage, it means the blade might be set too deep. Or, the wire was not positioned correctly. A perfect strip shows no insulation residue on the conductor. It also has no signs of cutting into the metal. If you find issues, re-adjust your tool or re-evaluate your wire positioning. This ensures the best connection quality for your projects.
You have learned how to use your tool. Now, let's talk about getting the most out of it. You also need to stay safe. Understanding different wire types and avoiding common mistakes will make your work even better.
Wires come with many different insulation types. Your MARSHINE Automatic 10-24 AWG Wire Stripper Gun can handle a wide range. Think about the materials. You have plastic types like:
Then, you have rubber options:
And don't forget fluoropolymer insulations:
Your automatic stripper handles these different types. It works with soft ones like PVC and rubber. It also tackles harder ones, like armored or shielded cables. For tougher insulation, your tool needs stronger feed wheels. It also needs an adjustable cutting depth. This adjustable blade depth is super important. It makes sure the blade cuts only the insulation. It does not damage the conductor. Many machines have adjustment knobs for blade height. They also have quick-set blade tension and depth indicators. Some models let you widen or narrow the feed channel. This fits different wire diameters. Others have multiple feed holes. You can choose the right one for your wire.
Even with an automatic tool, you can make mistakes. Knowing them helps you avoid them.
You want to prevent wire damage during stripping. You should strip cables carefully. Use minimal effort. Treat cables gently. Secure them in place before stripping. Carefully strip insulation to avoid damaging inner wires. After stripping, inspect your wires. Make sure they are intact. No bare wire should show.
To prevent insulation damage, use proper techniques. Select the correct tools. Practice caution when handling cables. Avoid common mistakes. Perform regular maintenance. This keeps your cables working well.
Using the right tools is crucial. A wire stripper removes insulation without damaging inner wires. A cable cutter makes clean cuts. Handle cables gently. Secure them during stripping. This prevents damage to the underlying wires.
The wire material and insulation type affect damage risk. Softer metals like aluminum scratch more easily. Thicker insulation needs more force. Consider these properties when you choose stripping methods and tools. This minimizes damage and ensures quality.
Safety comes first. Always follow these tips when you use your wire stripper.
Using cable stripping pliers is safer than using blades or other tools. It protects the cable. It also minimizes injury risk for you. Wear goggles to protect your eyes when you cut wires.
You can easily master your MARSHINE Automatic 10-24 AWG Wire Stripper Gun with these instructions. You will ensure efficient and precise wire preparation for all your projects. Regular maintenance significantly extends your tool's lifespan and keeps it working great.
You should check your project's requirements or device specifications. The MARSHINE tool handles 10 to 24 AWG. Match the wire gauge to your needs for safe and effective connections.
Yes, you can. This tool strips wires down to 24 AWG. That's quite thin. Ensure you position the wire correctly for a clean strip.
First, check your wire positioning. Make sure it's snug. Also, inspect the blades for wear or debris. A quick clean or adjustment often fixes it.


