
Achieve perfect, easy, and safe cable strips with the right manual cable stripper and technique. Incorrect blade alignment or improper settings can damage insulation or conductors, leading to safety hazards. Learn how to select the correct cable stripper tool, measure precisely, and remove insulation without damage. This helps you master efficient cable preparation for all your projects, especially with quality tools from MARSHINE.
Many people look for the simplest way to prepare cables. A manual cable stripper often provides the best solution. It offers a straightforward approach to a task that can sometimes seem complicated. This tool helps you achieve clean, precise results without unnecessary fuss.
A manual cable stripper gives users direct control over the stripping process. This direct interaction allows for very precise adjustments. You can feel the cable and the tool working together. This helps prevent damage to the delicate conductors inside. MARSHINE, a company known for its advanced, safe, and easy-handle products, designs its tools with this kind of user control in mind. They understand that precision comes from a tool that feels right in your hand. This simplicity means you can quickly learn how to use it effectively, leading to consistent, high-quality strips every time.
Choosing a manual cable stripper also makes good financial sense. These tools are much more affordable than their powered counterparts. Look at the typical price ranges:
| Stripper Type | Price Range |
|---|---|
| Manual Strippers | $10 – $50 |
| Ratcheting Models | $50 – $150 |
| Semi-Automatic Benchtop | $300 – $1,200 |
| Fully Automatic Industrial | $2,000 – $10,000+ |
As you can see, manual options offer significant savings. Beyond cost, their portability is a huge advantage. They are lightweight and compact, making them easy to carry to any job site. Consider these typical specifications for a portable manual cable stripper:
| Specification | Value |
|---|---|
| Weight | 2 lbs (910g) |
| Size | 1-3/4" dia. x 8-1/4" long (44mm dia. x 210mm) |
Some models are even smaller, with dimensions like 4.7 x 2.7 x 9.6 inches. This small size means you can easily fit them into a toolbox or even a pocket. This makes them ideal for electricians and DIY enthusiasts who need reliable tools on the go.
Selecting the correct manual cable stripper makes all the difference for easy and efficient work. A good tool simplifies your tasks and helps you achieve professional results every time. Consider the specific needs of your project when you choose.
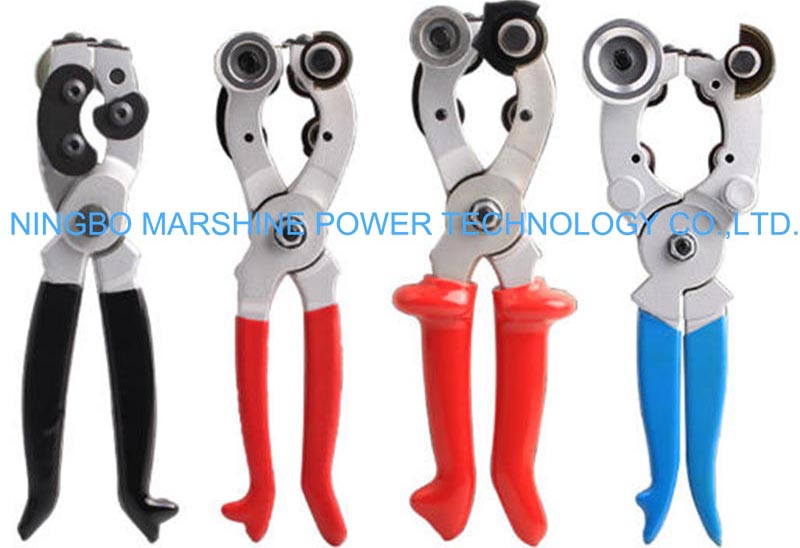
Different cables require different stripping tools. You will find various types of manual cable strippers, each designed for specific applications. For general wiring, basic wire strippers or wire stripper/cutters work well. These tools often feature multiple notches for different wire gauges, making them versatile. For more specialized tasks, like stripping larger or tougher insulation, tools such as the MAR-1903 Cable Stripping Tool offer enhanced capabilities. This tool provides precise control for various cable types. Understanding these differences helps you pick the easiest tool for your job.
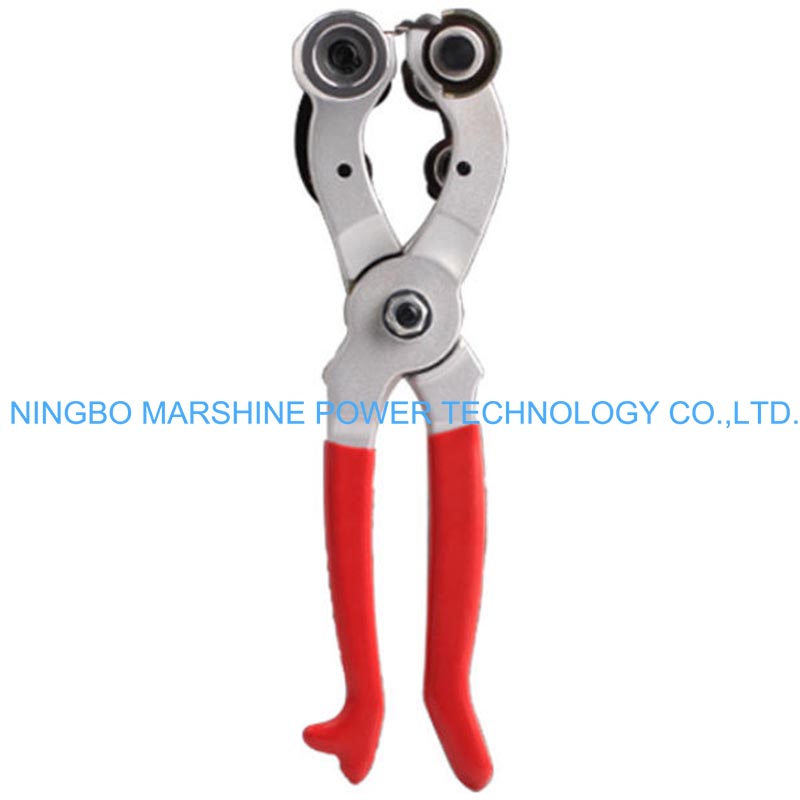
Sharp blades are essential for clean, damage-free strips. Dull blades can fray insulation or nick conductors, creating potential hazards. Always ensure your manual cable stripper has sharp, durable blades for optimal performance. Beyond sharpness, ergonomic design significantly impacts ease of use and comfort. Tools like the MS-3 Cable Wire Stripper Peeler Tool, with its 260mm length, allow for effortless stripping of hard insulation. This design minimizes hand force and greatly reduces hand fatigue during prolonged use. Look for features such as comfortable, non-slip grips and spring-loaded mechanisms. These designs ensure the tool fits comfortably in your hand, making operation smooth and reducing strain. MARSHINE prioritizes these ergonomic features, ensuring their tools provide comfort and efficiency for every user.
Achieving a perfect cable strip consistently requires a systematic approach. Following these steps helps ensure safety, precision, and efficiency.
Safety always comes first when working with tools. Before you begin, always inspect your manual cable stripper. Make sure it is in good condition. Using a damaged wire stripper can cause the tool to slip from your hands. This can lead to injury. Also, using the wrong size wire stripper can result in a frayed wire. This not only complicates the task but also increases the chance of injury. A blunt wire stripper makes it difficult to cut cleanly. This prolongs the task and can lead to improper stripping. Always wear appropriate personal protective equipment, such as safety glasses, to protect your eyes from flying debris.
Precision begins with proper measurement. Determine the exact length of insulation you need to remove. This length depends on the type of connection you plan to make. Proper strip length is crucial for full conductor insertion. It prevents unnecessary exposure of the conductor. Insufficient strip length leads to incomplete contact. Excessive strip length can cause strands to protrude beyond the crimp zone. This results in short circuits or failed inspections. Use a marker or a ruler to clearly mark the insulation where you want to make the cut. This visual guide helps ensure accuracy.
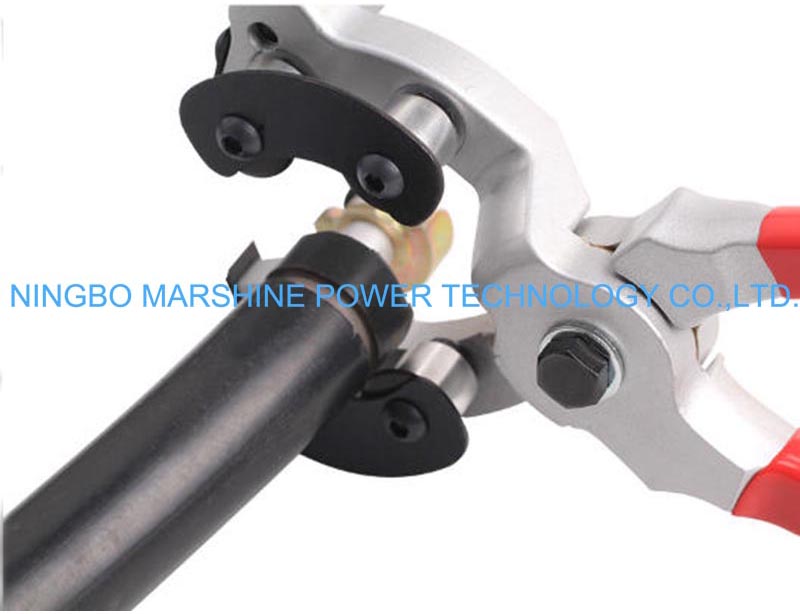
Correct positioning of the cable within the stripper is vital for preventing conductor damage.
Improper alignment can lead to nicked or cut conductors. This compromises electrical integrity. It can potentially cause short circuits or signal loss. Off-center stripping can also weaken the insulation. This makes it prone to damage. Use the correct stripper size for the cable gauge. Perform a test strip on a scrap piece of cable if one is available. Visually inspect the stripped end for any conductor damage before termination. When holding the cable, use a tensioning tool with controlled force. This achieves a firm hold without compressing the insulation. Avoid bundling too tightly or overcrowding cables. This prevents hidden stress and friction.
Applying the right amount of pressure is key to a clean strip without damaging the conductors. The number one concern during this process is to avoid nicking or cutting into the wire’s conductor. If the copper conductor gets damaged, it can weaken the wire. This leads to several problems. As one source puts it: "Minor superficial marking is unimportant. Deep nicks around the circumference create weaknesses. Those would cause problems." With the right tools and careful technique, you can strip insulation without nicking or scratching the copper.
Begin by applying gentle, even pressure to the handles of the manual cable stripper. You want to score the insulation, not cut all the way through it. For a clean, circumferential cut, rotate the stripper around the cable. For larger gauge electrical wire, a utility knife can be used for both axial and circumferential cuts. The circumferential cut should be made about three-quarters of the way through the insulation. A full-depth cut at the wire end helps initiate a 'peel' for clean removal. This method allows for clean breaks at the circumferential cut when you peel back the insulation with pliers. Some specialized tools rotate around the cable to slice insulation. These are similar to a tubing cutter for larger wire sizes.
Once you have scored the insulation, it is time to remove it. Gently pull the stripper away from the cable. The scored insulation should slide off cleanly. If it does not, you may need to apply slightly more pressure or rotate the stripper a bit more. Avoid twisting or yanking the cable. This can damage the conductors. After removing the insulation, inspect the exposed conductors. Look for any nicks, cuts, or frayed strands. If you see any damage, cut the cable back and repeat the stripping process. A clean, undamaged conductor ensures a reliable electrical connection.
You can consistently achieve clean, damage-free cable preparations with your manual cable stripper. The right tool, proper technique, and consistent practice are key to mastering perfect cable strips. Apply these simple steps for all your electrical projects. This helps you work safely and efficiently.
You match the stripper's gauge markings to your cable's gauge. Many strippers have multiple holes for different wire sizes. This ensures a snug fit and clean cut.
A nicked conductor weakens the wire. It can cause electrical problems or even break the wire. You should cut the cable and re-strip it to avoid issues.
Replace your stripper when the blades become dull or damaged. Dull blades can fray insulation or nick conductors. A sharp tool ensures safe and efficient work.


