
A properly installed grounding rod is crucial for electrical safety, protecting against lightning strikes and electrical surges. Proper grounding prevents 90 percent of lightning damage; this vital earthing rod also guards against high voltage surges. Understanding the correct placement and installation of a grounding set is essential for effective grounding. This guide details optimal locations and methods for installing a grounding rod to ensure safety and compliance. MARSHINE provides tools for safe installation.
Properly placing a grounding rod is a critical step in creating a safe electrical system. Think of it as the first line of defense for your home or building against electrical hazards. Where you put this important component makes a big difference in how well it protects everything.
The main electrical panel is the heart of your electrical system. Therefore, placing the grounding rod close to it makes a lot of sense. This setup helps create a direct path for fault currents to safely dissipate into the earth. While the National Electrical Code (NEC) does not specify a maximum distance for the grounding rod's placement relative to the electrical panel, many experts and local authorities suggest keeping it as close as practical. If the grounding rod is installed far away, the NEC may require a larger conductor size to prevent impedance issues.
When installing, remember these important safety standards:
Keeping the grounding electrode conductor (GEC) as short as possible is a smart move. A shorter conductor means less electrical resistance, which allows fault currents to travel to the earth more efficiently. The NEC does not specify a limit on the maximum length of the GEC. However, a shorter length is generally preferred.
Consider this: increasing the length or depth of a ground electrode is a highly effective method for reducing ground resistance. For instance, doubling the length of the ground electrode can lead to an additional 40% reduction in resistance. This is especially important because soil resistivity can vary, and ensuring the electrode extends below the frost line helps maintain stable resistance.
Since the grounding rod connects your electrical system to the earth, it must be installed outdoors. The choice of material for your outdoor grounding rod significantly impacts its durability and conductivity. Different materials offer various benefits and drawbacks.
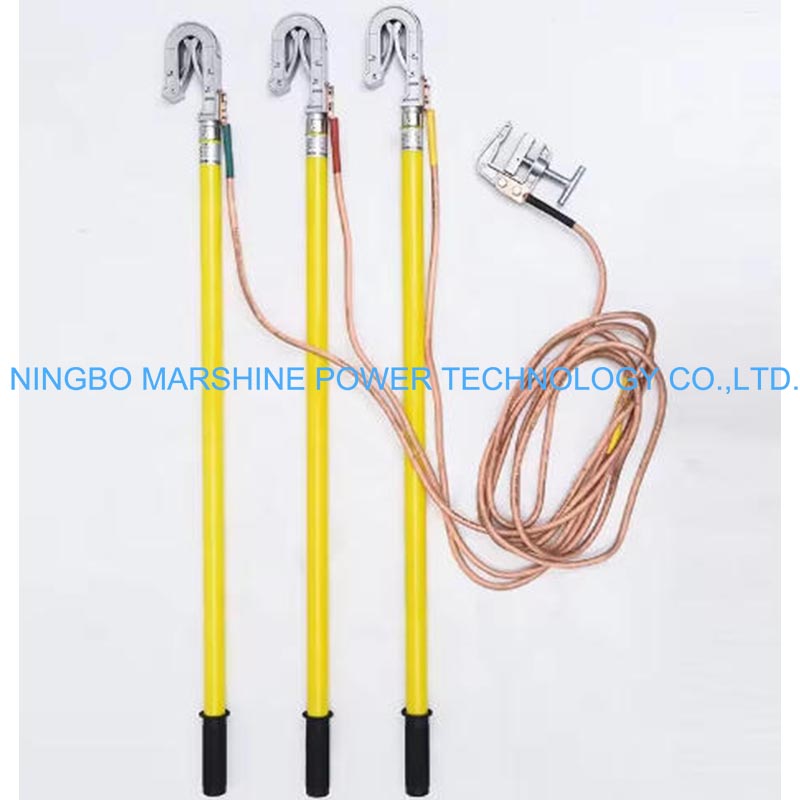
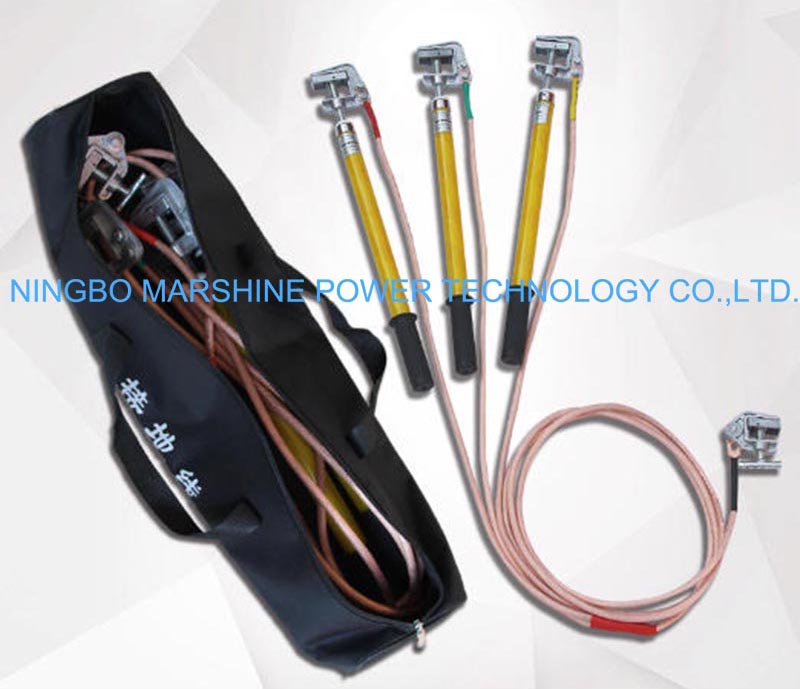
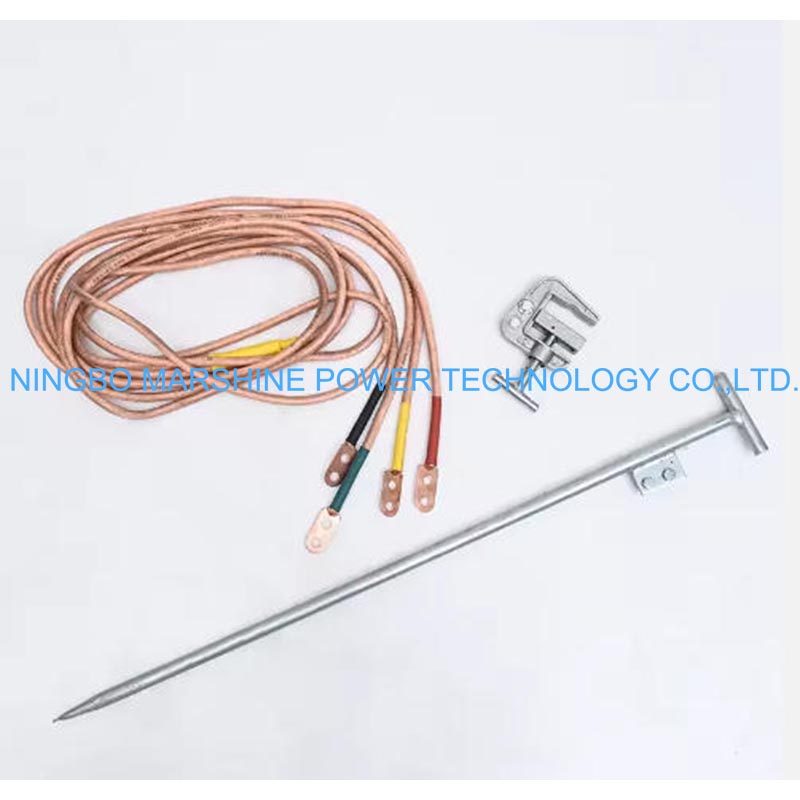
Here are some common materials for grounding rods:
This chart compares the conductivity and longevity of different grounding rod materials:
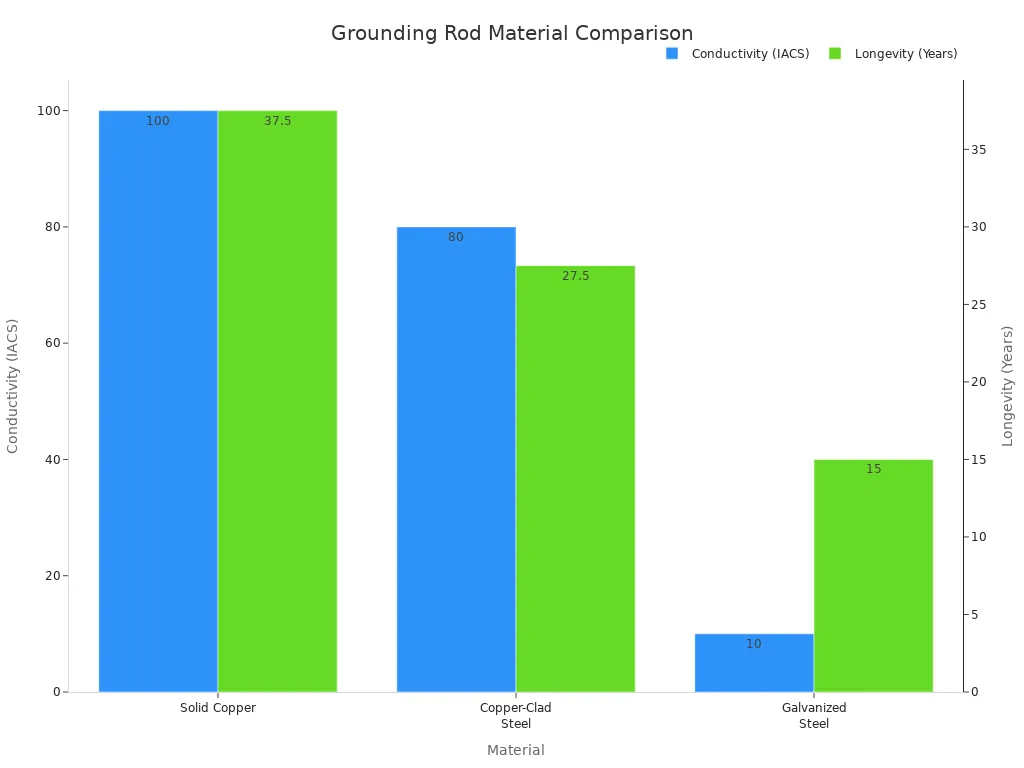
Copper-bonded steel is often recommended. It balances conductivity, around 80% of solid copper, with cost-effectiveness. These rods can last 25-30 years. They are made by electro-plating copper over a steel core, which creates a strong bond. Solid copper is highly conductive (100% IACS) and resists corrosion excellently, lasting 35-40 years. People often choose it for critical infrastructure despite its higher cost. Copper is generally better than aluminum because it conducts electricity better and resists corrosion more effectively, leading to greater durability in harsh conditions.
Installing a grounding rod correctly involves more than just driving it into the ground. Specific guidelines help ensure the rod works effectively and keeps everyone safe. Let's look at where to place it and how deep it needs to go.
Many people wonder how far a grounding rod should be from a building's foundation. Interestingly, the electrical code does not specify a minimum distance. This means you have some flexibility. However, many electricians consider it good practice to place the rod about 2 feet away from the foundation for homes. This distance is not a strict rule, but it offers a practical buffer. The most important thing is to protect the grounding electrode conductor (GEC) properly, no matter how far the rod is. The National Electrical Code (NEC) sections 250.64(B) and Table 300.5 provide guidance on how to protect this wire.
Before you start digging, always check for underground utility lines. Hitting a water pipe, gas line, or electrical cable can be very dangerous and costly. You can usually call a local "call before you dig" service to mark these lines. This step is crucial for safety. Also, keep your grounding rod separate from other systems. For example, if you install a grounding rod for communication circuits, Section 800.100(B)(3) of the NEC says it should be at least 6 feet away from electrodes of other systems. This separation prevents interference and ensures each system grounds properly.
The depth and how you install the grounding rod are very important for good electrical grounding. The NEC has clear rules for this.
| Soil Type | Soil Resistivity (Ωm) | Earthing Resistance (Ω) at 3m Depth | Earthing Resistance (Ω) at 6m Depth | Earthing Resistance (Ω) at 10m Depth |
|---|---|---|---|---|
| Very moist soil, swamplike | 30 | 10 | 5 | 3 |
| Farming soil, loamy/clay | 100 | 33 | 17 | 10 |
| Sandy clay soil | 150 | 50 | 25 | 15 |
| Moist sandy soil | 300 | 66 | 33 | 20 |
| Moist gravel | 500 | 160 | 80 | 48 |
| Dry sandy soil | 1000 | 330 | 165 | 100 |
| Dry gravel | 1000 | 330 | 165 | 100 |
| Stoney soil | 30,000 | 1000 | 500 | 300 |
This chart further illustrates how deeper rods generally lead to lower resistance across different soil types:
You have learned the basics of grounding rod placement. Now, let's explore some advanced considerations. These details ensure your electrical system has the best possible protection.
Sometimes, one grounding rod is not enough. You need multiple rods when the soil conditions are poor. For example, dry clay or rock makes it hard to achieve the required ground resistance with a single rod. In these cases, multiple dispersed rods create an equipotential protective ground. Even in good soil, if you have PV arrays, experts recommend installing a grounding rod near the array and connecting it to the main ground. This naturally leads to a system with multiple grounding rods. When you use multiple grounding electrodes, proper spacing is crucial. You must maintain at least 1.8 meters (6 feet) between them. For homes with 200 amp service, installing multiple ground rods is common. They require a minimum spacing of six feet to meet electrical codes.
Some soil types, like rocky or sandy ground, make achieving good grounding difficult. However, you have several effective methods to improve grounding resistance.
For electric fences in poor soil, install more ground rods than usual. Space them 10 feet apart and 50 feet away from other ground systems or the energizer.
Driving a grounding rod, especially into hard soil, requires the right tools. Ground rod drivers are essential. They efficiently and securely drive grounding rods into tough or rocky environments. These drivers come in various cup and shank sizes. They match the diameter of the rod you install, ensuring proper depth with minimal effort. Specialized tools make the job easier. These include ground rod drivers designed for jackhammers (like 60# or 35# jackhammers). You can also rent demo hammers and use them with rod driver bits. SDS Max drills, combined with a ground rod driver attachment, also work well. Ningbo MARSHINE Power Technology Co., Ltd. offers a wide range of circuitry construction tools. These include hydraulic puller tensioners, cable winches, and various hardware and safety tools. MARSHINE has a strong reputation for high technology and reliable quality in the industry.
Proper installation of a grounding rod is crucial for electrical system safety and longevity. Adhering to specific placement, depth, and spacing guidelines ensures effective grounding. This protects your property and people. Ningbo MARSHINE Power Technology Co., Ltd. offers appropriate tools, facilitating a safe and compliant installation.
A grounding rod must extend at least 8 feet into the earth. This depth helps it reach moist soil for better conductivity.
If one rod does not achieve 25 ohms or less resistance, you must install additional rods. Space them at least 6 feet apart for best results.
No, always check for underground utilities before digging. Hitting a gas or water line can be very dangerous. Call "811" first. 📞


